How to use the JavaScript SDK in a React App
We just released the first version for the JavaScript SDK.
This can be installed in your projects either with npm, either with yarn.
In order to add the Simple-JWT-Login SDK to your project, just type:
npm install "simple-jwt-login"
or
yarn add "simple-jwt-login"
Set up the environment
Now, let's start a new React project, and include the simple-jwt-login sdk.
In order to create a new React project in the folder my-app, in your console write the following:
npx create-react-app my-app
You will see a loader, and some files that are being extracted to the folder. Also, when this process finishes, you will see some instructions on how to proceed.
Now, we will switch in the console to our new project, and start the React app.
cd my-app
and then
npm start
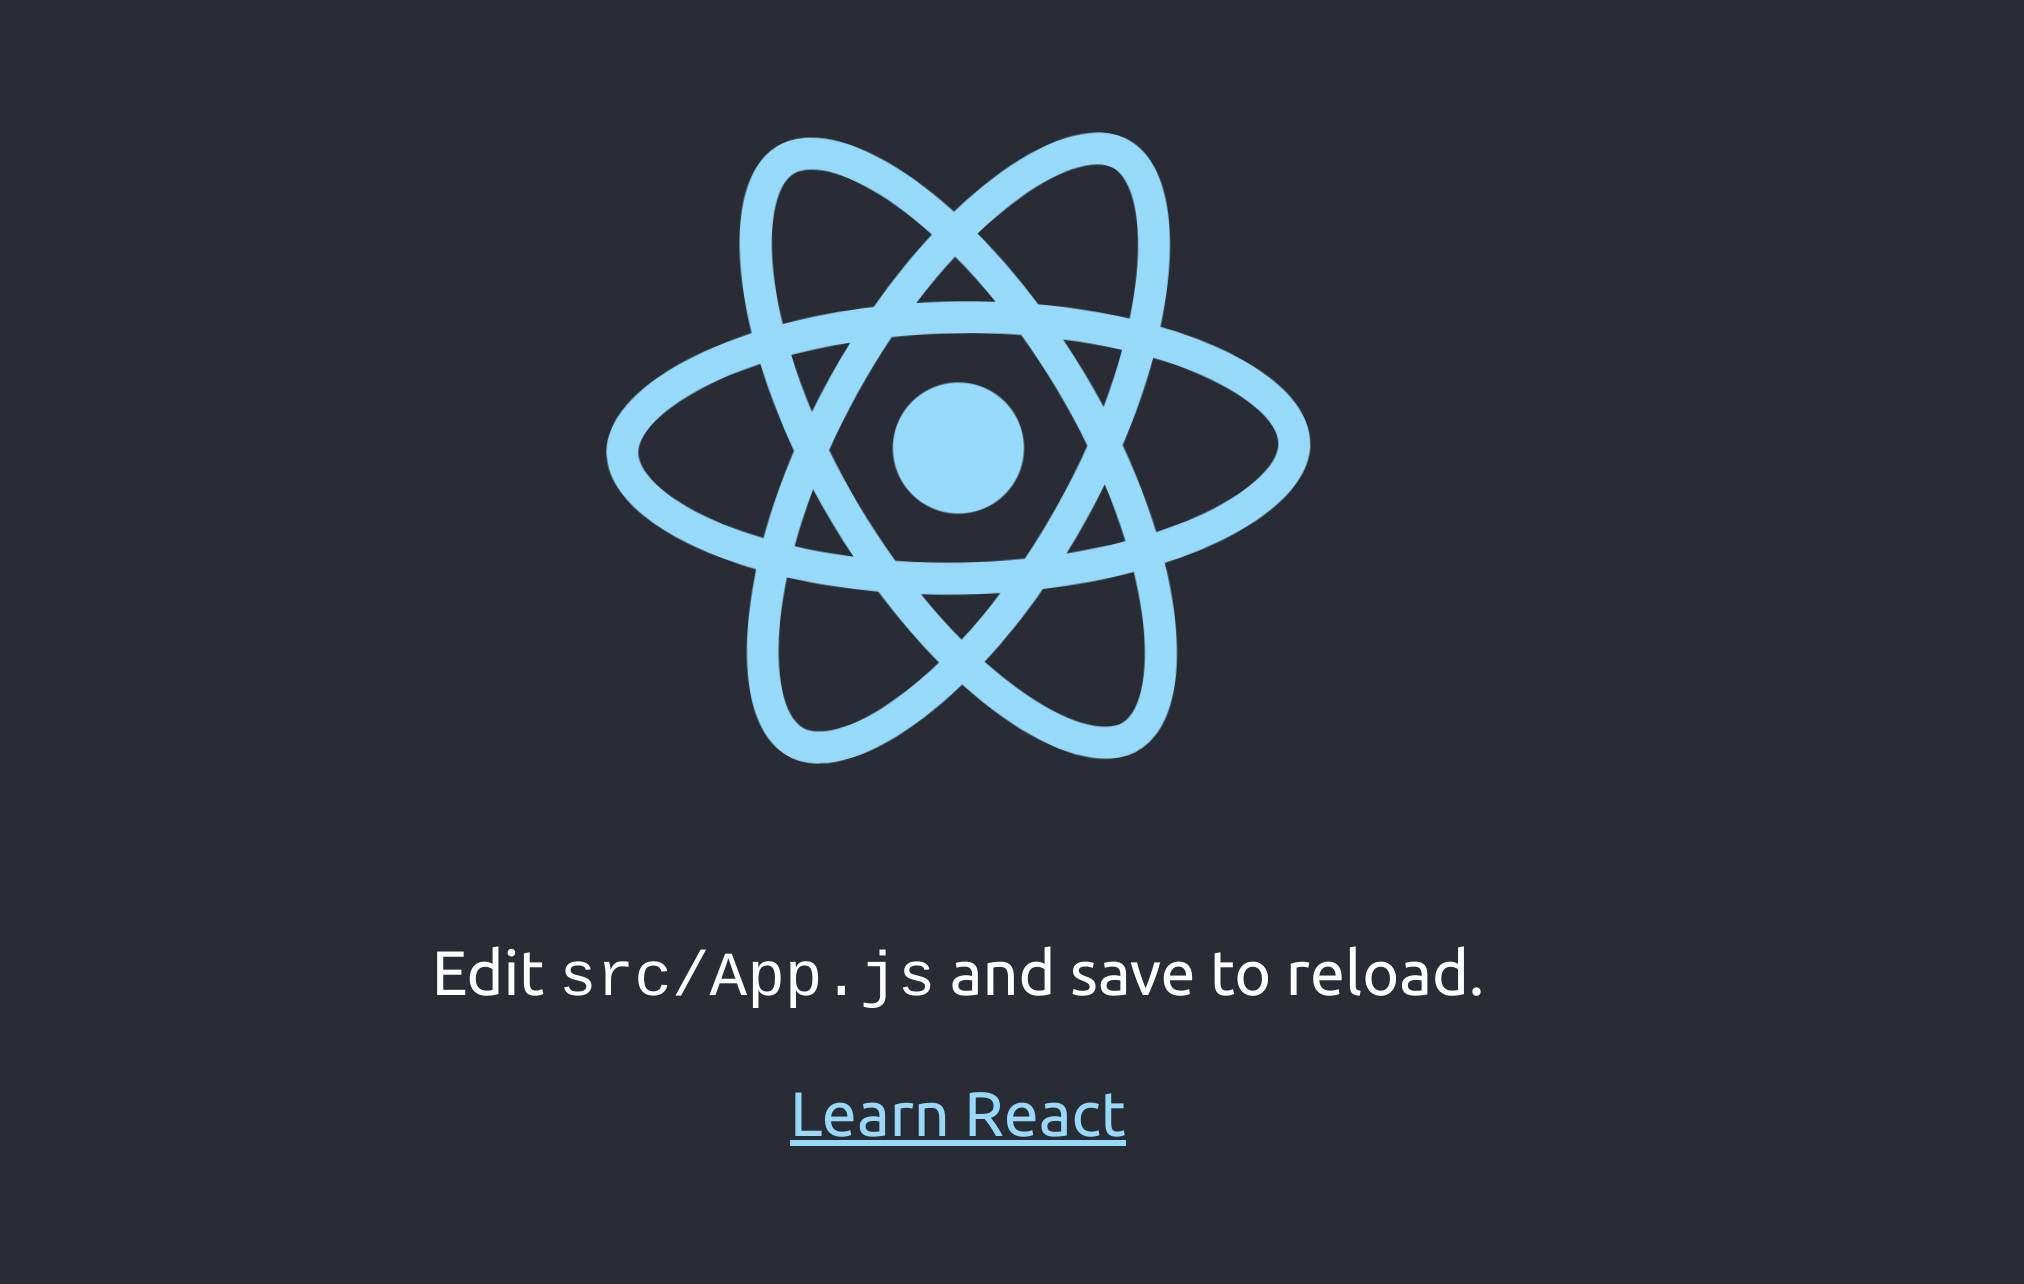
Once the React starts, a new tab will be opened in your Browser:

Install the Simple-JWT-Login SDK
In your terminal go the folder where you have installed the React App and type:
npm install "simple-jwt-login"
After this, open a code editor, and in your package.json you will see "simple-jwt-login":"^0.1.4"
"dependencies": {
    "@testing-library/jest-dom": "^5.16.5",
    "@testing-library/react": "^13.4.0",
    "@testing-library/user-event": "^13.5.0",
    "react": "^18.2.0",
    "react-dom": "^18.2.0",
    "react-scripts": "5.0.1",
    "simple-jwt-login": "^0.1.4",
    "web-vitals": "^2.1.4"
  },
At this moment, your React App, can use the simple-jwt-login SDK.
Create a Register form
Now, let's create a form, that will allow us in the future to register users in our WordPress website.
For this tutorial, we will create the form in the src/App.js file.
This file looks like this:
import logo from './logo.svg';
import './App.css';

function App() {
  return (
    <div className="App">
      <header className="App-header">
        <img src={logo} className="App-logo" alt="logo" />
        <p>
          Edit <code>src/App.js</code> and save to reload.
        </p>
        <a
          className="App-link"
          href="https://reactjs.org"
          target="_blank"
          rel="noopener noreferrer"
        >
          Learn React
        </a>
      </header>
    </div>
  );
}

export default App;
Now, we will remove everything that is inside the <header> tag.
// import logo from './logo.svg';
import './App.css';

function App() {
  return (
    <div className="App">
      <header className="App-header">

      </header>
    </div>
  );
}

export default App;
Now, let's add 2 inputs and one button that will allow us to specify the email and the password for our users and a function handleClick that will handle the click event from the button.
// import logo from './logo.svg';
import './App.css';
import {useRef} from 'react';

function App() {

  const emailRef = useRef(null);
  const passwordRef = useRef(null);

  function handleClick() {
      //TODO: here we will call Simple-JWT-Login
  }
  return (
          <div className="App">
            <header className="App-header">
              Email:
              <input
                      ref={emailRef}
                      type="text"
                      id="email"
                      name="message"

              />
              Password:
              <input
                      ref={passwordRef}
                      type="text"
                      id="password"
                      name="message"
              />
              <button onClick={handleClick}>Register User</button>
            </header>
          </div>
  );
}

export default App;
At this moment, we have a register form:

Add the Simple-JWT-Login SDK library
On this step, we need to add the simpl-jwt-login SDK in the code.
First, we need to import it. Add this line at the top of your file:
import {SimpleJwtLogin} from 'simple-jwt-login'
The code should look like this:
// import logo from './logo.svg';
import './App.css';
import {useRef} from 'react';
import {SimpleJwtLogin} from 'simple-jwt-login'

function App() {

  const emailRef = useRef(null);
  const passwordRef = useRef(null);

  function handleClick() {
      //TODO: here we will call Simple-JWT-Login
  }
  return (
          <div className="App">
            <header className="App-header">
              Email:
              <input
                      ref={emailRef}
                      type="text"
                      id="email"
                      name="message"

              />
              Password:
              <input
                      ref={passwordRef}
                      type="text"
                      id="password"
                      name="message"
              />
              <button onClick={handleClick}>Register User</button>
            </header>
          </div>
  );
}

export default App;
The next step, is to initialize SimpleJWTLogin.
For this example, we have a WordPress instance at http://localhost:88 with the Simple-JWT-Login plugin installed. The plugin has the default namespace, simple-jwt-login/v1/.
const simpleJwtLogin = new SimpleJwtLogin("http://localhost:88","/simple-jwt-login/v1");
Next step, would be to get the values from the inputs, and call Simple-JWT-Login when the button "Register User" is clicked.
In order to do this, we need to add some code in handleClick method:
  function handleClick() {
       //init SimpleJWTLogin
       const simpleJwtLogin = new SimpleJwtLogin("http://localhost:88","/simple-jwt-login/v1");
       //Prepare the Request Body with the values from the input
       const data = {email: emailRef.current.value, password:passwordRef.current.value, nickname:"tests"}

       //Call WordPress and create User
        let result = simpleJwtLogin.registerUser(data);

       //Display the result in the console
       console.log(result);
  }
Wrapping up
This is how our full code will look like:
// import logo from './logo.svg';
import './App.css';
import {useRef} from 'react';
import {SimpleJwtLogin} from 'simple-jwt-login'

function App() {

  const emailRef = useRef(null);
  const passwordRef = useRef(null);

  function handleClick() {
    //init SimpleJWTLogin
    const simpleJwtLogin = new SimpleJwtLogin("http://localhost:88","/simple-jwt-login/v1");
    //Prepare the Request Body with the values from the input
    const data = {email: emailRef.current.value, password:passwordRef.current.value, nickname:"tests"}

    //Call WordPress and create User
    let result = simpleJwtLogin.registerUser(data);

    //Display the result in the console
    console.log(result);
  }


  return (
          <div className="App">
            <header className="App-header">
              Email:
              <input
                      ref={emailRef}
                      type="text"
                      id="email"
                      name="message"

              />
              Password:
              <input
                      ref={passwordRef}
                      type="text"
                      id="password"
                      name="message"
              />
              <button onClick={handleClick}>Register User</button>
            </header>
          </div>
  );
}

export default App;
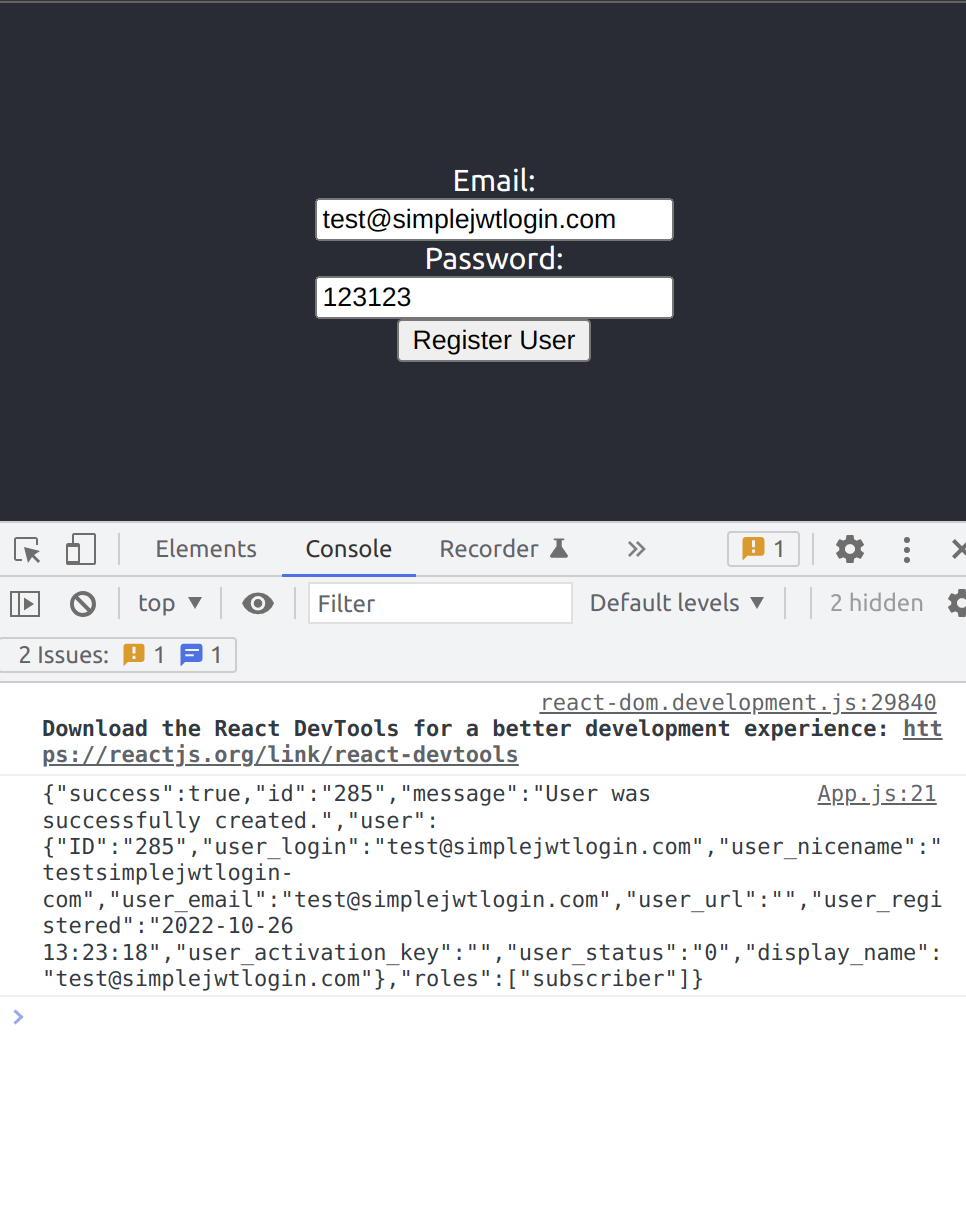
After filling the form and click on "Register User" you will get something similar in your console:

Conclusion
Using the simple-jwt-login SDK allows you to connect to WordPress with only a couple of lines of code. You don't need to worry about the endpoints or the request methods. You just need to make sure that you send all the required parameters.
