OAuth
Simple JWT Login supports OAuth 2.0 authentication with four providers: Google, Auth0, Facebook, and GitHub. When configured, users can sign in with their existing provider accounts and receive a WordPress JWT in return.
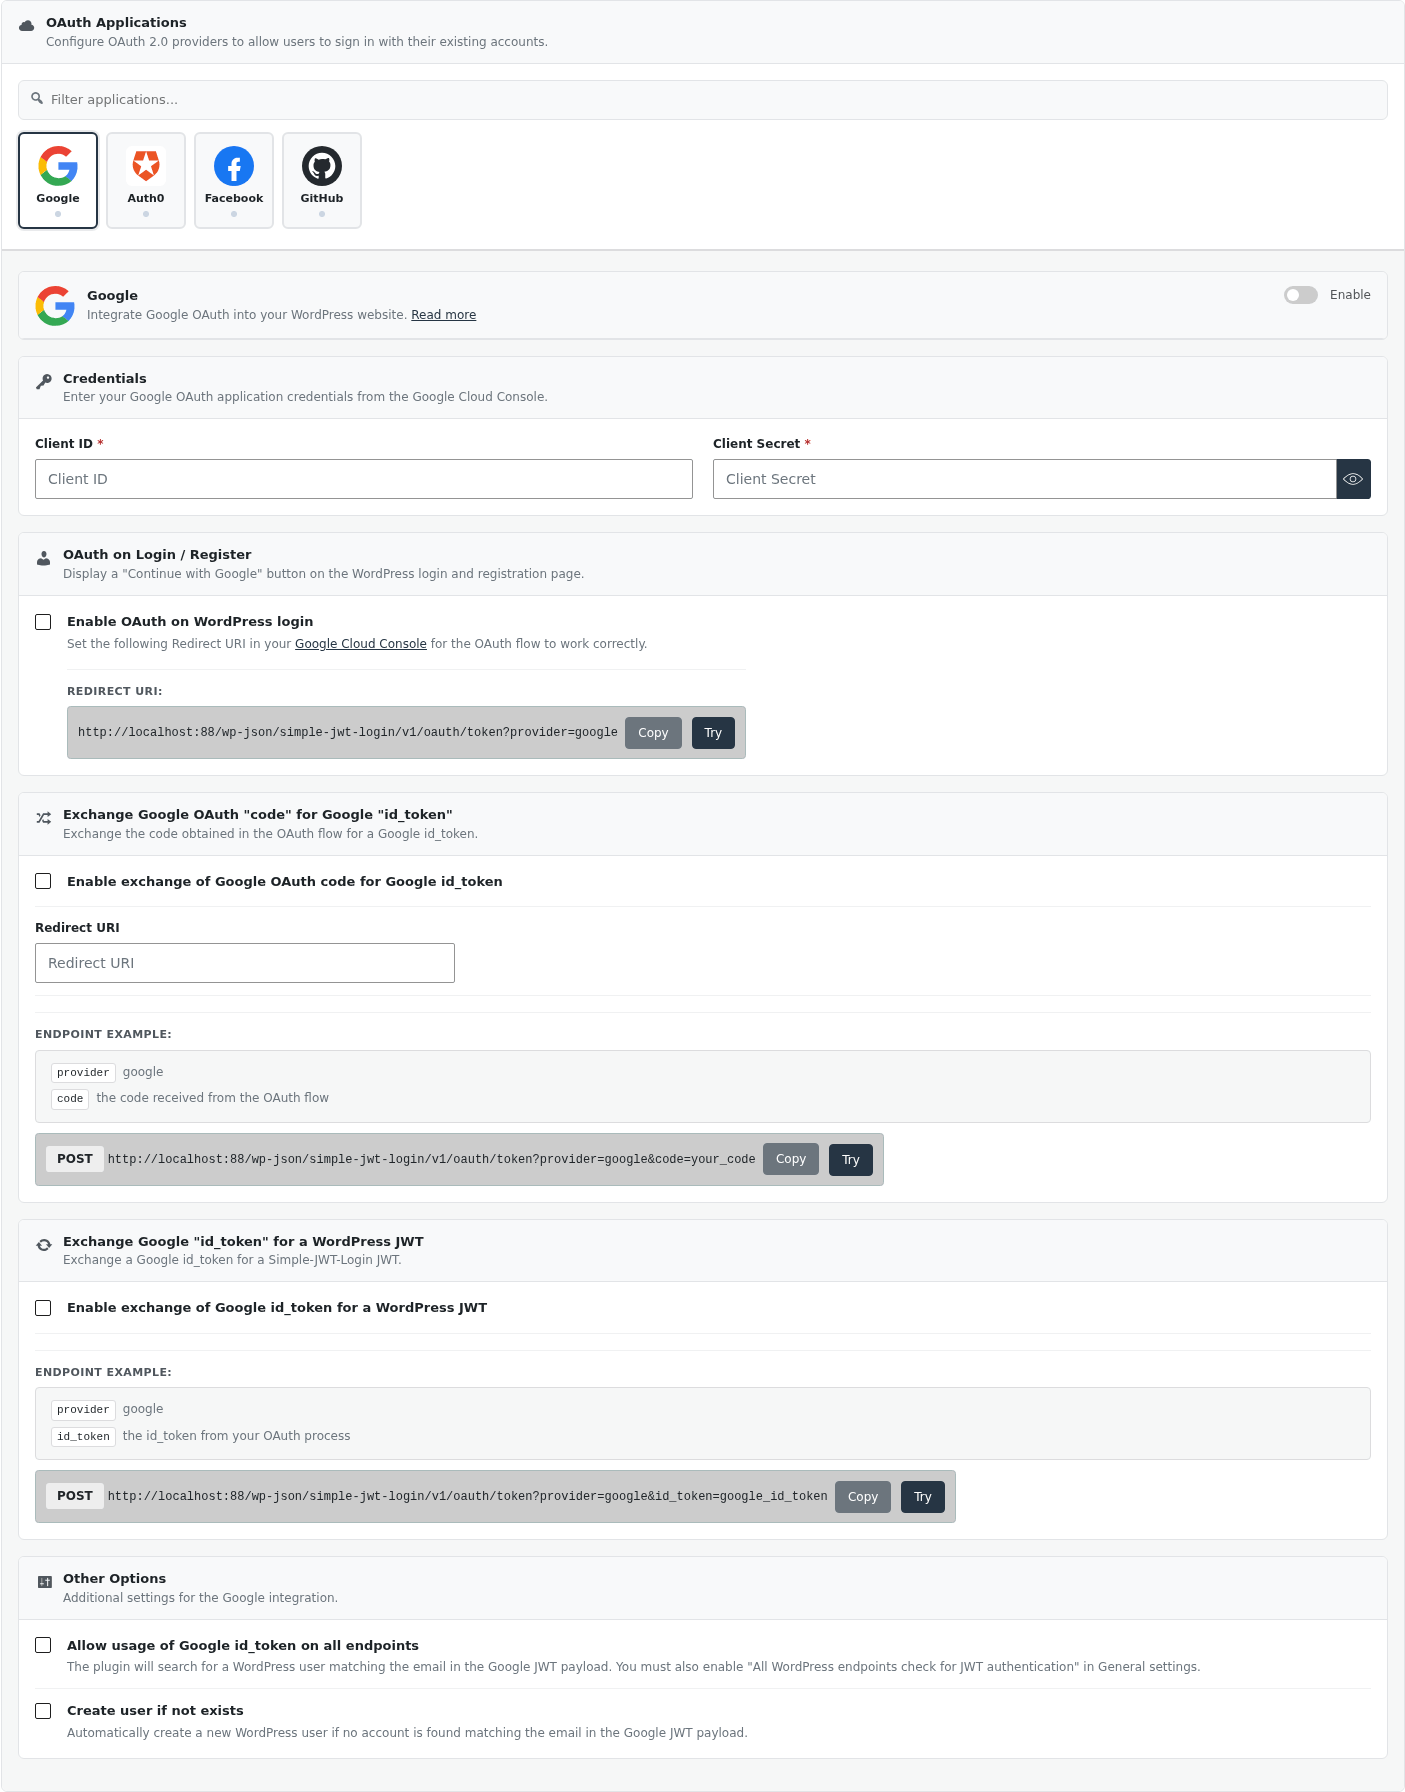
Configure OAuth under Settings → Simple JWT Login → Integrations → OAuth.
Login Page Button Layout
Controls how the "Continue with..." buttons appear on the WordPress login and registration page.

| Option | Description |
|---|---|
| Stacked | One full-width button per provider, stacked vertically |
| Side by side | All buttons in a single row |
| Icons stacked | Icon-only buttons, one per line |
| Icons side by side | Icon-only buttons in a single row |
Shared Options
Each provider panel shares the same set of options.

Enable
Toggle the provider on or off. When disabled, the provider's endpoints return errors.
OAuth on Login / Register
When enabled, a "Continue with [Provider]" button appears on the WordPress login and registration page.

To make the OAuth redirect work, register the Redirect URI shown in the settings panel in the provider's developer console:
https://example.com/?rest_route=/simple-jwt-login/v1/oauth/token&provider={provider}
Allow Usage on All Endpoints
When enabled, a valid provider token can authenticate requests to any WordPress REST endpoint (not just Simple JWT Login routes). The plugin looks up the WordPress user by the email address returned by the provider.
Requires "All WordPress endpoints check for JWT authentication" to also be enabled in General settings.
Create User if Not Exists
When enabled, the plugin automatically creates a new WordPress user if no account is found matching the email from the provider. New users receive the default role configured in the Register settings.
Typical OAuth Flow
The full browser-based OAuth flow for any provider:
- User clicks "Continue with [Provider]" on your login page.
- They are redirected to the provider's authorization page.
- After authorization, the provider redirects back to your site's callback URI (
/simple-jwt-login/v1/oauth/token?provider=...&code=...). - Simple JWT Login exchanges the
codefor a provider token, then verifies the user's email. - If a matching WordPress user exists (or
Create user if not existsis on), a WordPress JWT is issued. - The user is logged in to WordPress.
For headless setups (no browser redirect), skip steps 1-3 and call the token exchange endpoint directly with the provider token your client already obtained.